


How To Plant A Plant
Planting new plants is one of the true joys of gardening. Today’s post gives you a step-by-step guide on how to make your landscape design leap from your imagination and into your garden.

Step One
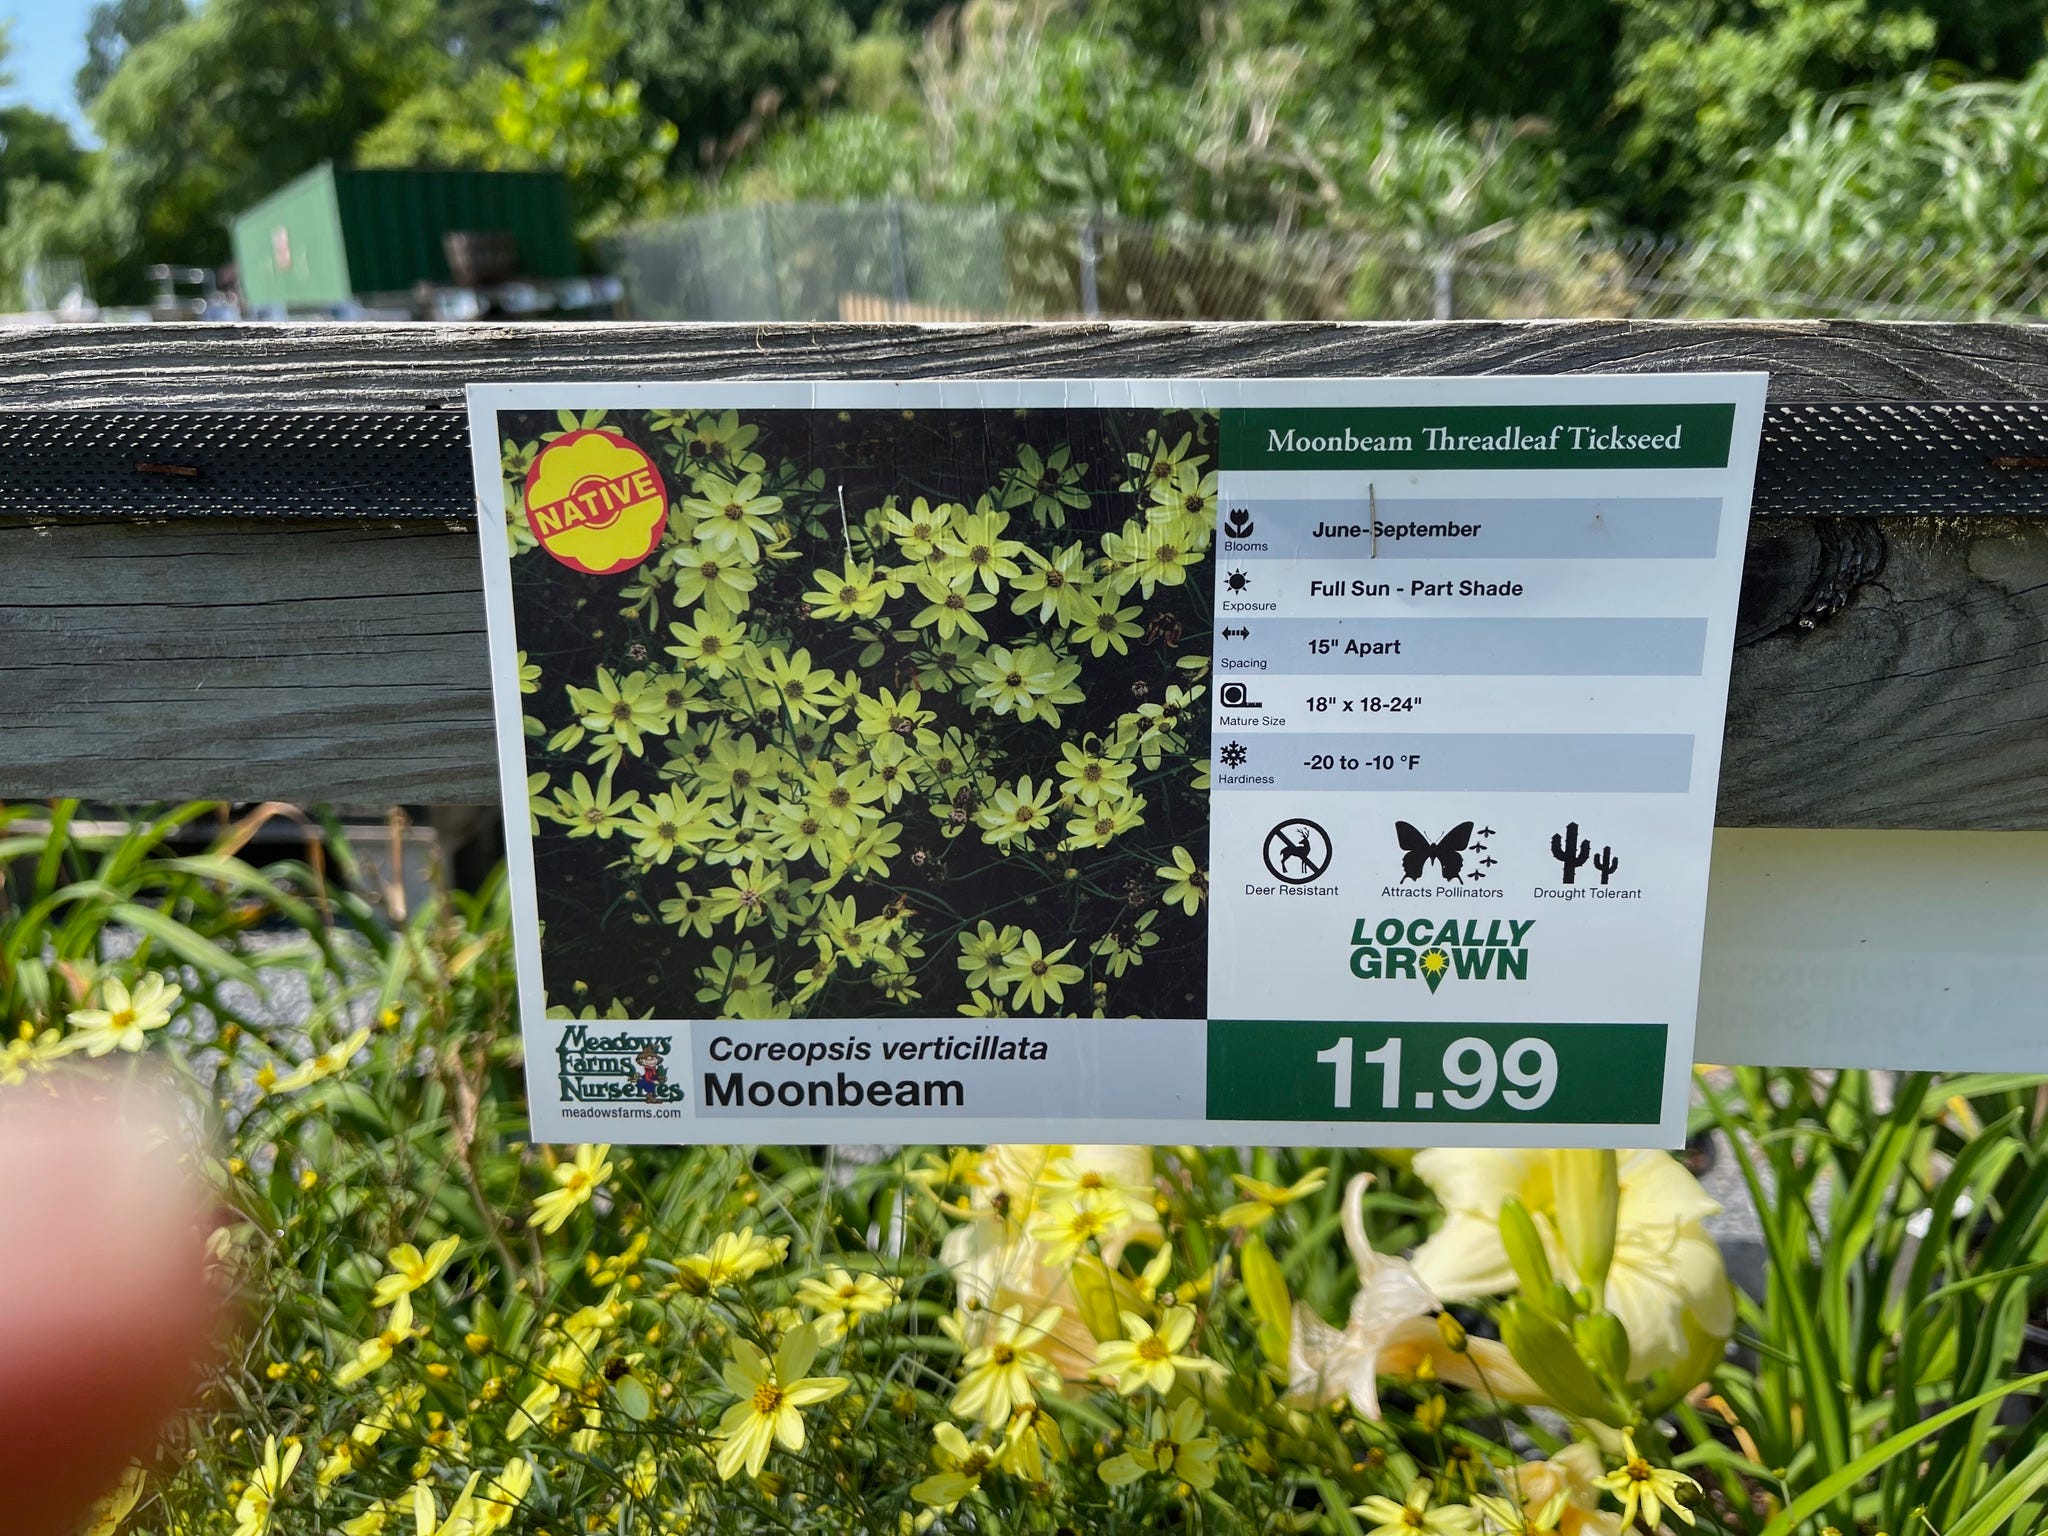
Go to your local garden store and buy a beautiful new plant. You can probably buy a perennial for about $10 for a quart-sized pot, and $20 to $30 for a gallon pot, depending on the plant. Make sure you take note of the plant warranty. Different nurseries and box stores have different warranties. You are likely to kill this plant in a three-to-six-month period so pay attention to the warranty details.
Step Two
Take the plant home and place it gently and reverently in the spot you think will enhance the beauty of your garden. Your only limitation is your imagination. You are going to create a small piece of living art. The world will be a better place because of the tranquility and peace of your garden.
Step Three
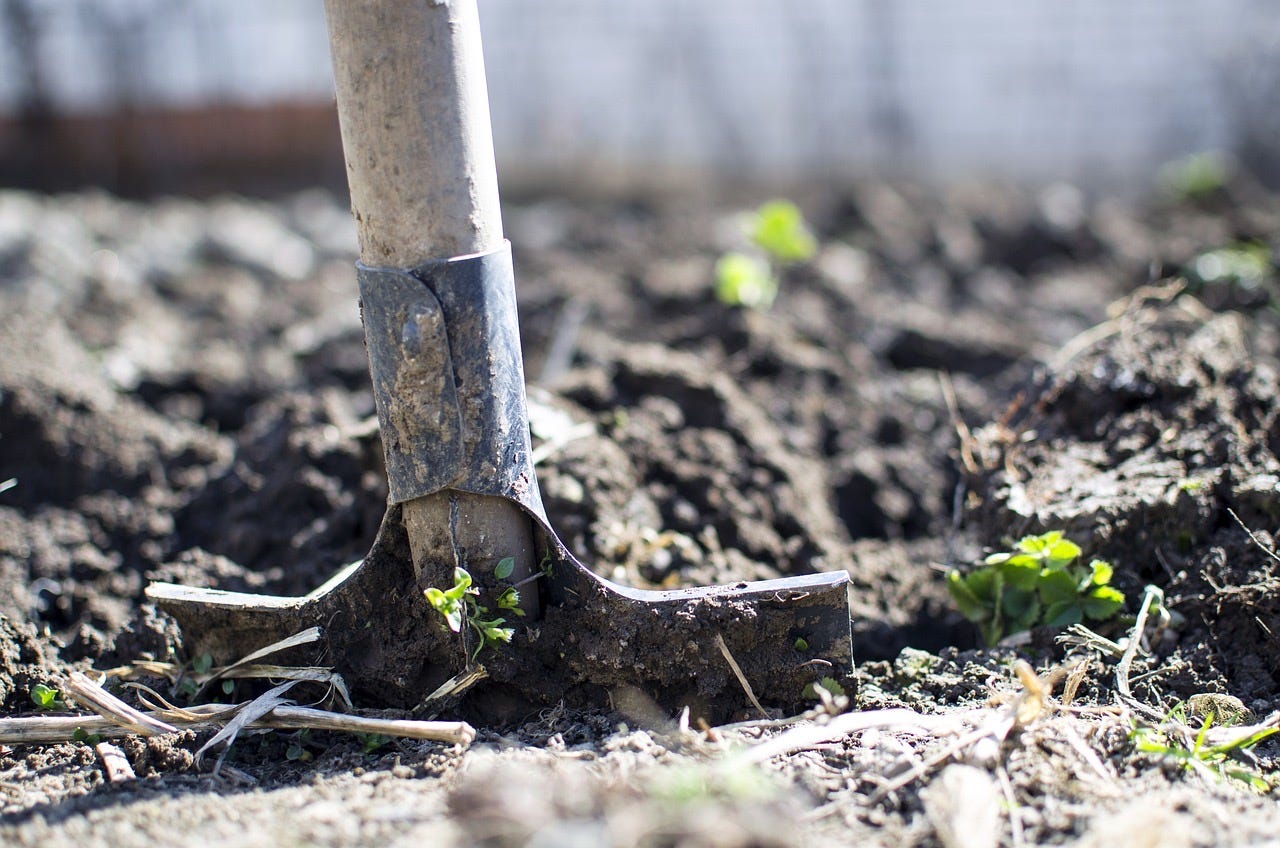
Take your shovel and slide it ever so gently into the rich, brown earth that will be the home of your plant. Carefully read the instruction card that comes with the plant, where it says to dig a hole twice the width of the root ball or plant container and deep enough so that the plant will sit level with the ground.
Step Four
After about three inches of digging, note that your shovel is stuck in the ground. After a huge amount of jumping on the shovel and trying to wrench it through the soil, lift it to find a huge glob of clay. This isn’t soft, “silly putty” clay. This is a chunk of nasty, hardened clay that is closer to concrete. Continue jumping on your shovel and futilely digging your hole, while cursing at the clay for at least five to 10 minutes, until you get to the next step.
Step Five
Notice that there is a change in the texture of the soil you are digging. Where it was previously very hard to make progress digging your hole, it is now impossible. There is a 2-inch layer of pebbles, stones, and rocks beneath the clay. Get down on your hands and knees and leverage the tip of the shovel under a rock so you can pry it up. Use your fingers and the shovel blade to try to wrestle a rock from the hole. Slowly and methodically clear the area, one rock at a time. After fifteen minutes of clearing stones by hand, you are ready to continue.

After being in the kneeling position for fifteen minutes, be grateful that you can stand again. Resume digging with the shovel, hoping the worst is behind you. Note that you’ve worked up a sweat and gnats, flies, and other insects that can sting you, are buzzing around your ears. You are disappointed to find that once again, the shovel won’t dig into the dirt. It is now making a “thunking” sound that indicates you are hitting something else.
Step Six
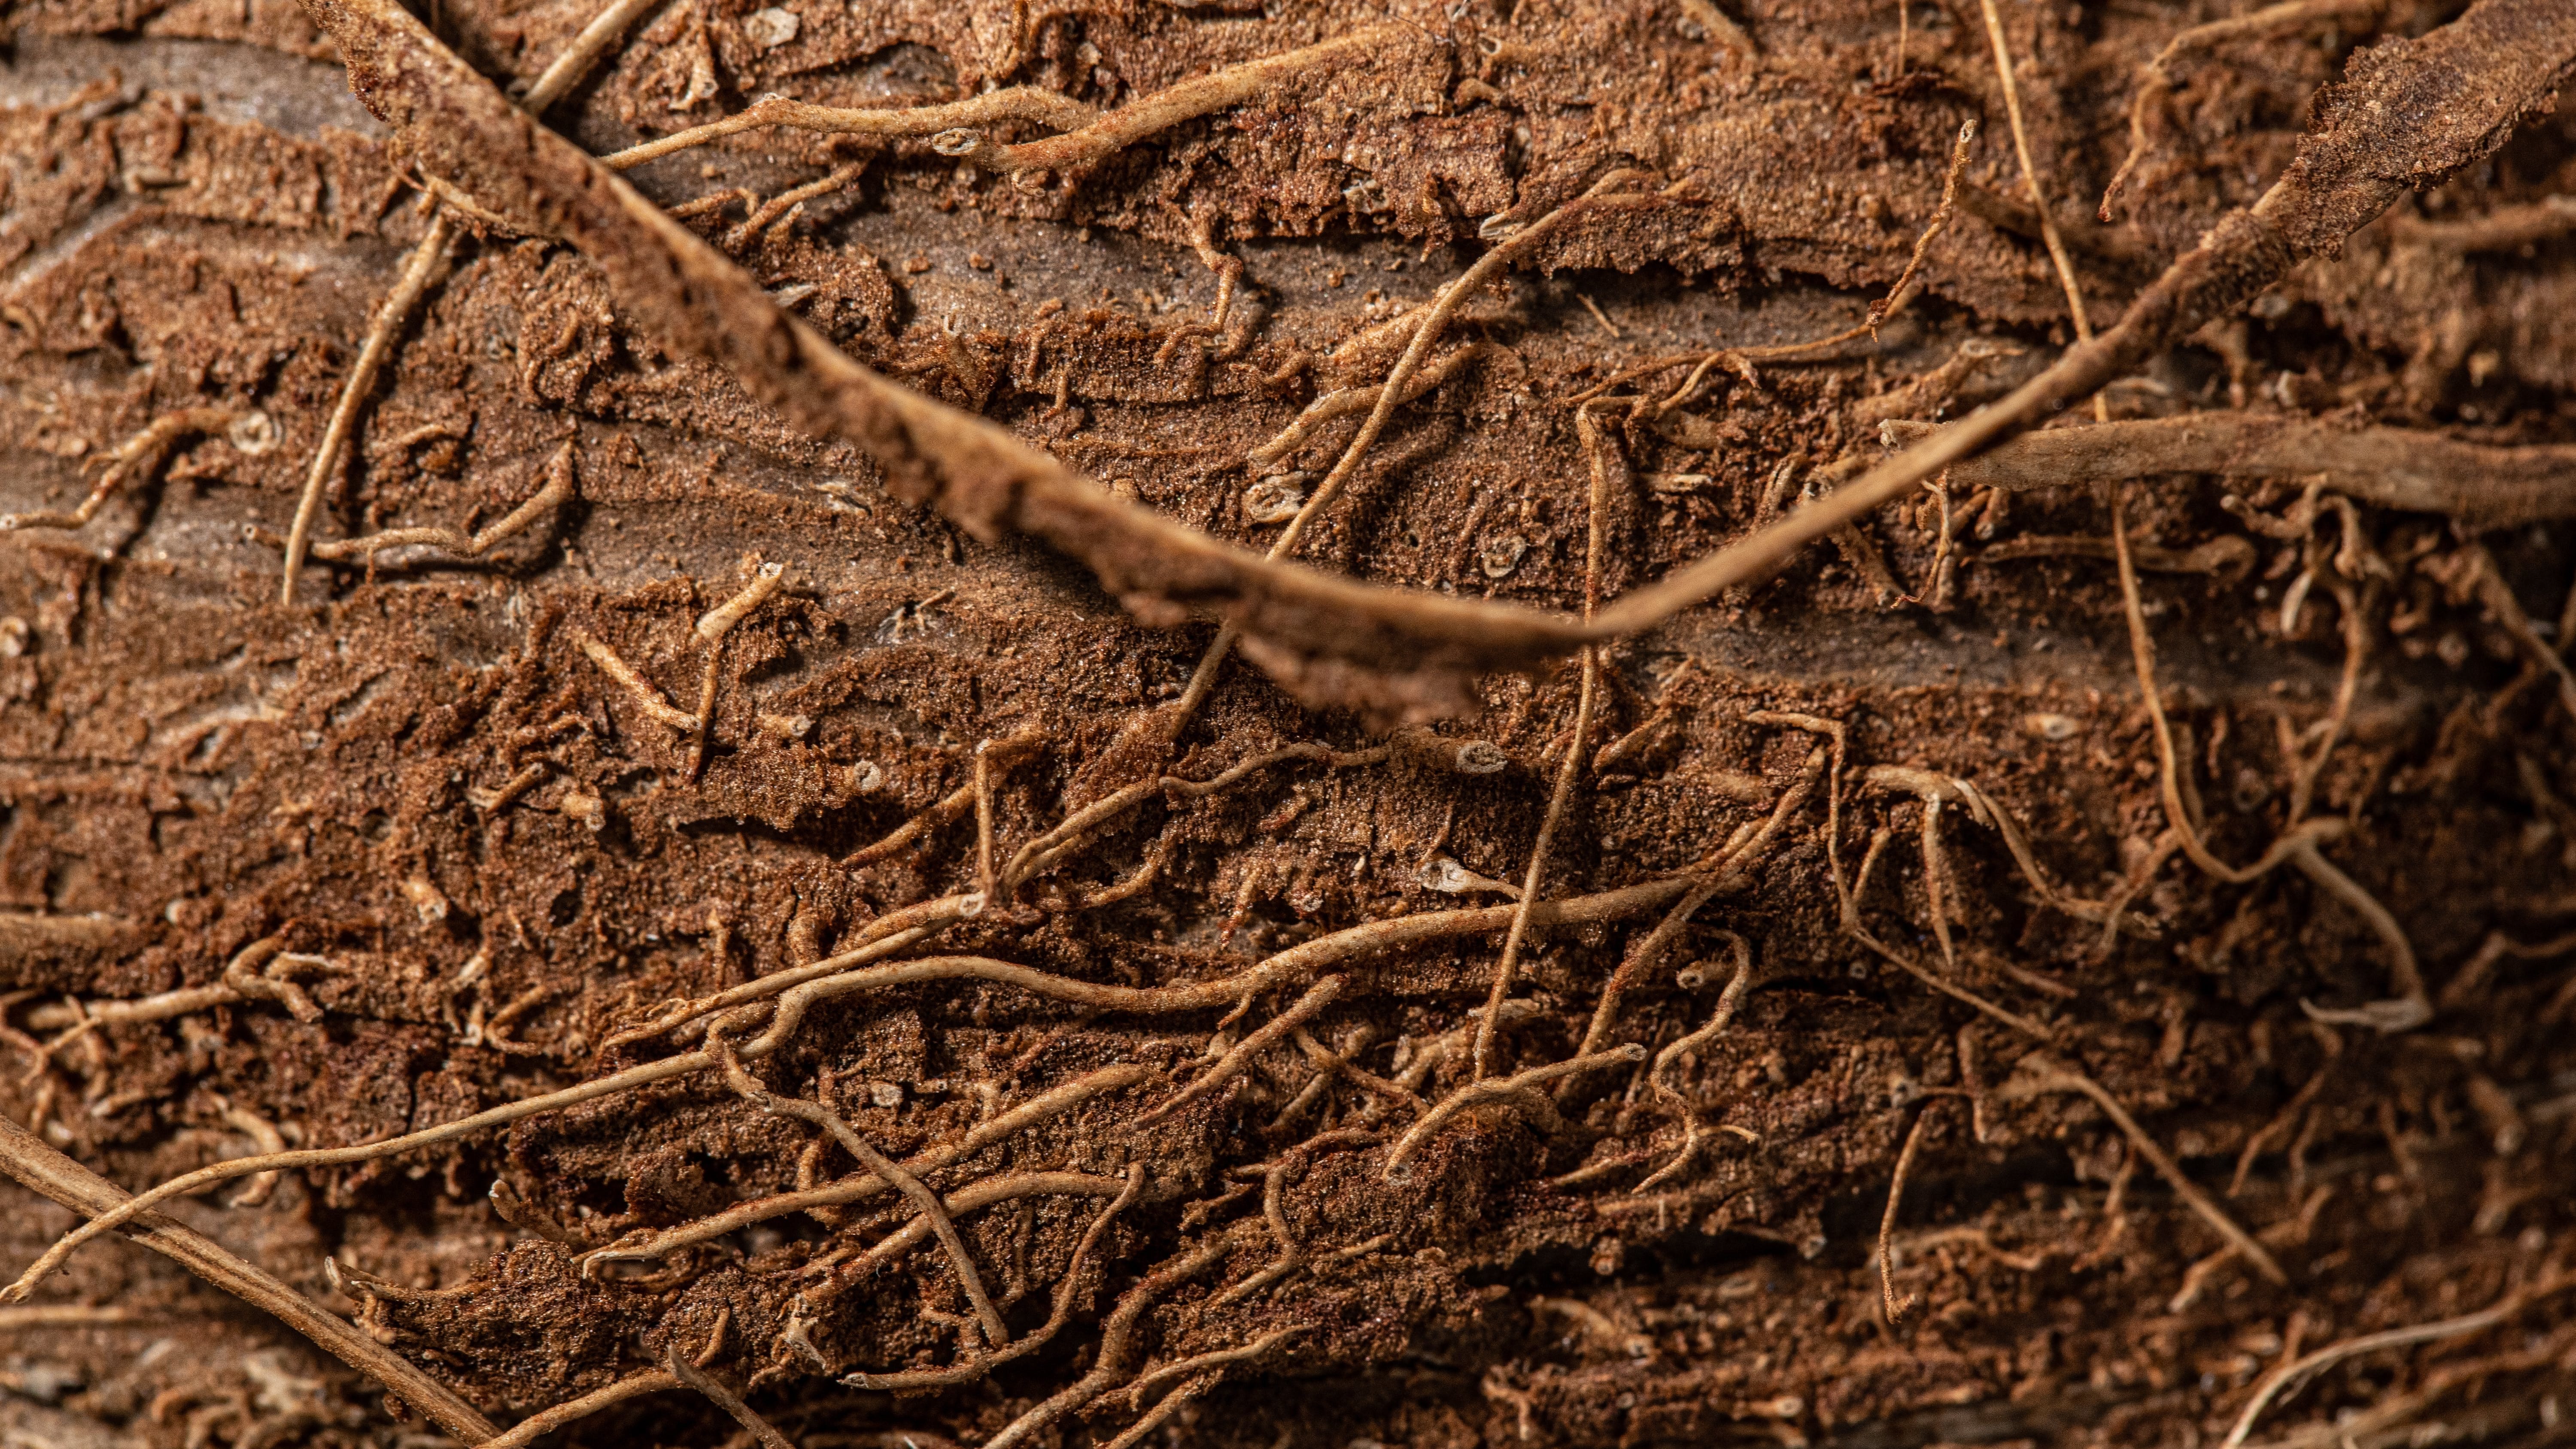
You have reached a network of roots left over from trees that could have been on this lot years ago. Some of the roots are too thick to dig through, some are as thick as medium spaghetti, and some are very thin. Get back down on your hands and knees and start stabbing at the roots with your shovel to see where you can break through. Wonder if the loud, grunting noises you are making are audible to your neighbors. Grab some of the cuttable roots and reach into your pocket for a pair of snippers. Rigorously begin snipping roots until it appears you’ve cleared a path for your shovel. Hope that none of the roots you just cut will cause any plant life in the area to die.
Step Seven
At some point during the process of digging through the roots, notice that the shovel seems to be getting caught on something as you try to pull it up for the next downstroke. What you thought was a root from an old bush is a wire of some kind. On closer inspection see that you’ve come within a quarter of an inch of digging through a wire that is part of your landscape lighting system. Breathe a sigh of relief when you realize that you don’t have to explain to your spouse the extra expense of calling the landscape lighting company for this repair. The wire is nicked but not broken, so you may proceed to the next step.
Step Eight
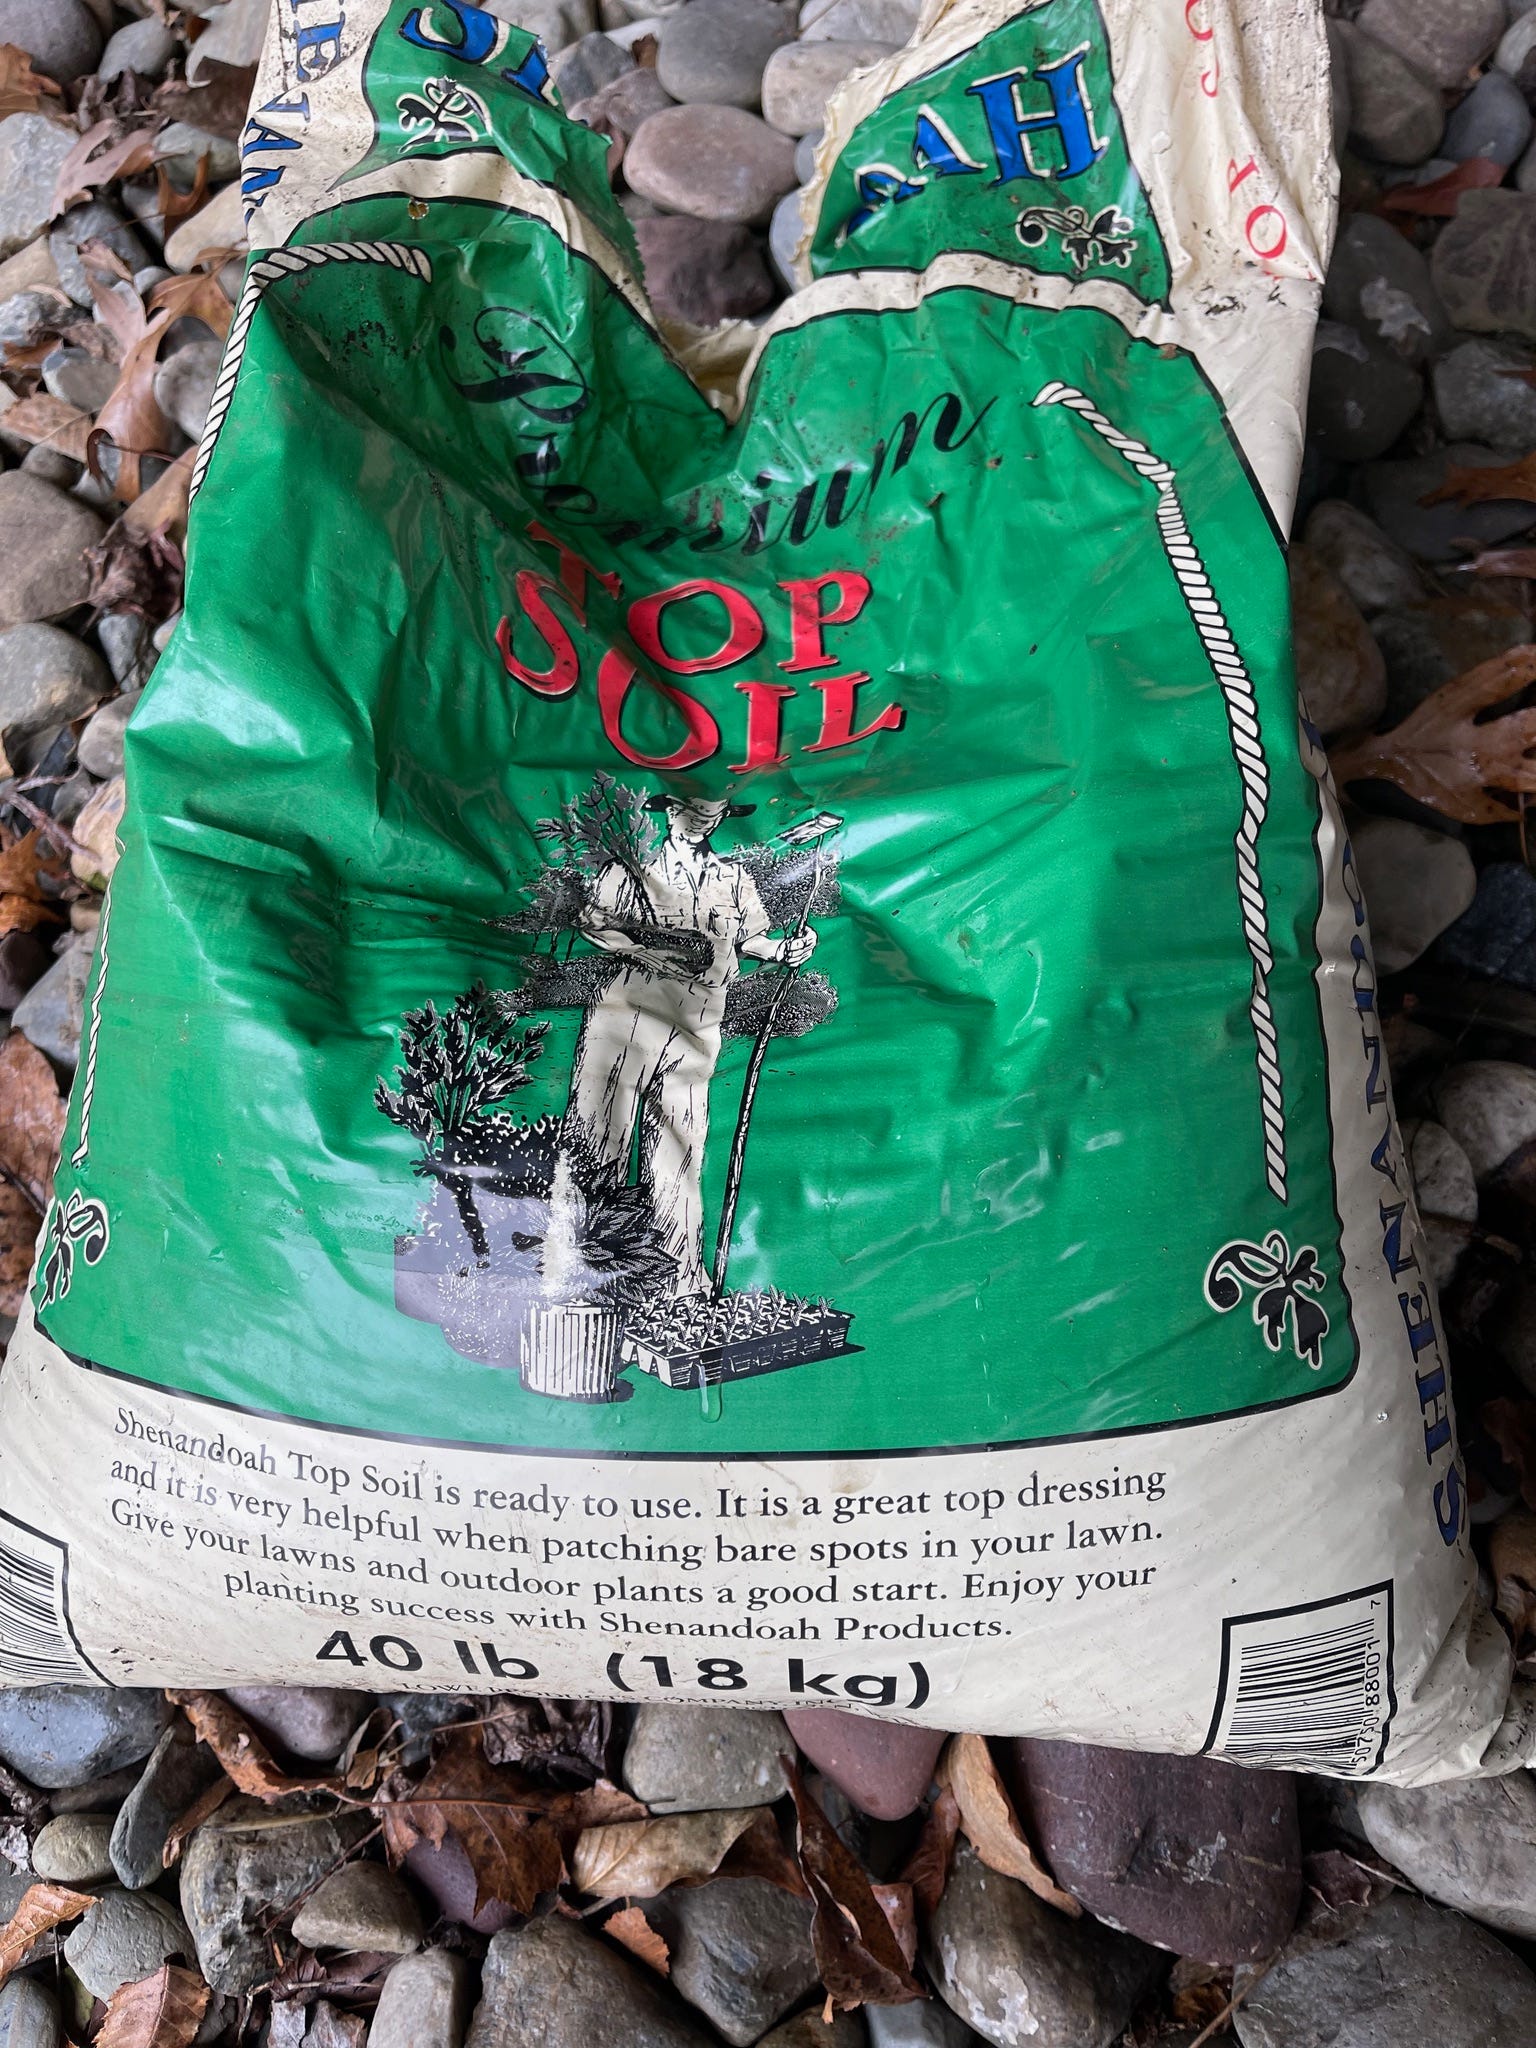
Stagger to your feet after having been on your hands and knees for the last 30 minutes, fight off a spell of dizziness, and find the 40-pound bag of topsoil you left on the small porch behind the house. Drag the 40-pound bag to the back of your lot where you found the perfect spot for your plant. Wearily turn and weave your way back to the porch and find your 40-pound bag of compost and drag that back to your planting area, puzzling over how the bag of compost is getting heavier with every step. Proceed to make a satisfying cocktail of the compost, topsoil, and the clay that you dug earlier. Mix it by hand and fill the lower half of your newly dug hole. Using your fingers to make some space in the compost mixture, fit the root ball of the plant into the hole. Stagger to your feet and tap the soil around your plant gently with your feet to be sure the plant is firmly situated in the soil and level with the ground. When the plant still isn’t perfectly level with the ground, jump on the root ball several times while consoling yourself that you’ve read several articles that suggest you should leave the root ball a few inches above ground-level for the plant to grow properly. This is a good thing.
A close inspection now reveals that while digging through the clay, rocks and stones, and roots, you’ve somehow managed to dig your hole about four inches to the right of where you pictured it. It just doesn’t look right. Sigh, knowing that there is no way you are going to move this plant to the correct location today, at the same time knowing that this is going to bother you every day for the next several weeks until you eventually decide to move the plant to its proper position, four inches to the left of where it currently sits. The change in location will make a huge difference to the look of your garden.
Step Nine
You are not finished with installing your new plant. Mulch the base of the plant and marvel at its beauty. Place a bet with yourself about how long it will take the local deer population to munch your beautiful plant back to ground level. Spray your new plant with Liquid Fence or other deer repellant and take your chances. Fantasize about how you are going to shoot all the deer that wander on to your property, the problem being you don’t have a gun and don’t have any interest in killing wild animals.
Step Ten
Drag your shovel, snips, bags of compost, topsoil, and mulch, back to the house. Concentrate on tucking your butt under your spine and get into a good lifting position when you carry the mulch and the topsoil because experience tells you that you are just one short step from throwing out your back and ending up at the emergency room. Strip off your well-worn garden gloves and take two Tylenol. Take a hot shower. Take a nap. Tomorrow you will remember this as a happy experience and recommend to your friends that they take up gardening.
Next week we are headed to the waterfall bed, another beautiful spot on our garden tour. You get lots of interesting baby perennial stories with your free subscription next week. If you know a gardener, or a fellow Type A, and if you like the blog, I would appreciate it if you share The Painful Education of a Type A Gardener with them.
Now I know why my plants rarely flourished. I only did 4 of the 10 steps. I bought the plant, dug a hole, stuck the plant in, took a shower and a nap.
Can't wait for Spring to try all the Type A Gardener steps!
What about tickling the root ball especially if root bound in pot? I do that most of the time.